
As I described in a previous post, this is the week that Stitched Postcards will be traveling through the postal systems of over 20 countries in the Great Big Stitched Postcard Swap. I received my swap partner: Chrissy, in Aylestone, Leicester, England. It will be great fun to anticipate what will be arriving in my mailbox from her.
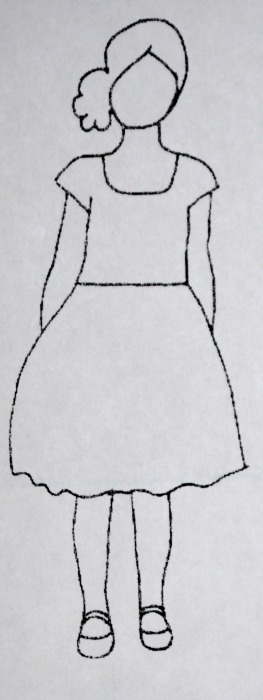
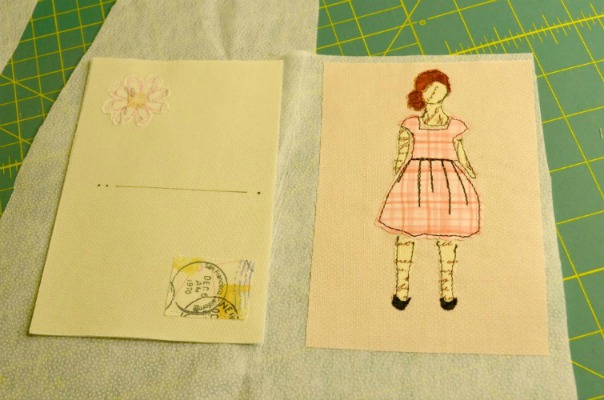
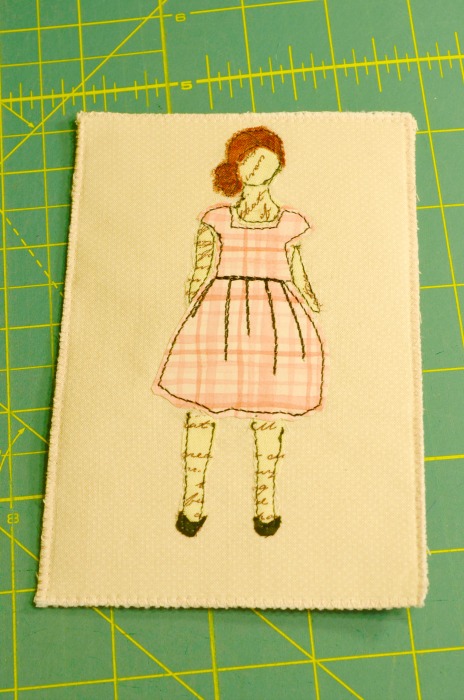
Should you want to participate in one of these swaps in the future, I will show you how I made my card for this swap. The standard size for one of these postcards is 4 inches by 6 inches. Once you have your idea for the card, choose a background fabric. A solid or very small print is the safest choice. I decided to make an “Art Girl” card, which will be a raw edge applique. I began with the drawing:
I chose a tiny white dot on a pink background as my background fabric. The skin areas were cut from a text fabric and placed on the background fabric.
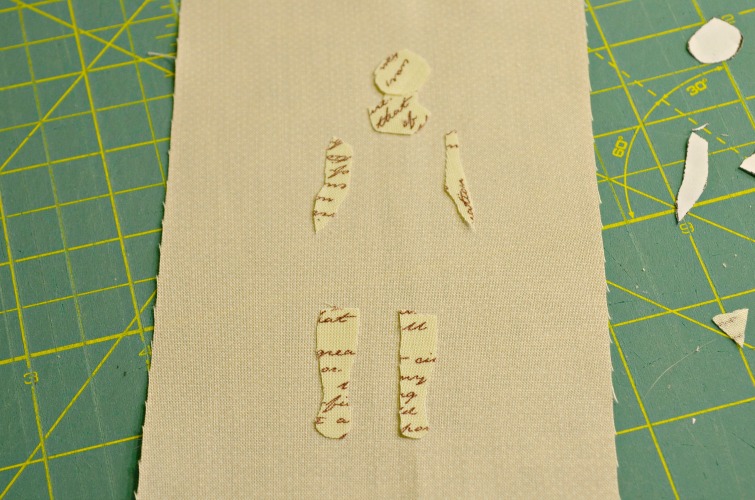
These are really tiny pieces of fabric!
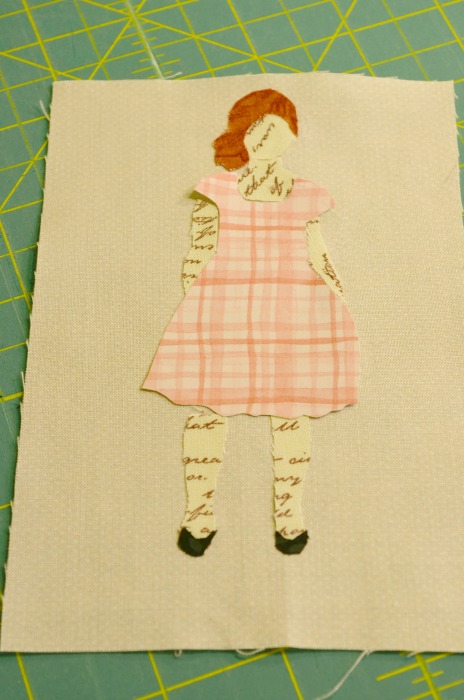
One of the challenges of this swap was to incorporate paper into the design. I used a piece of scrapbooking paper to make the girl’s dress. I then used tiny pieces of fusible interfacing to fuse the pieces to the background fabric. Did you know that paper can be fused this way, too? Neither did I, until now.
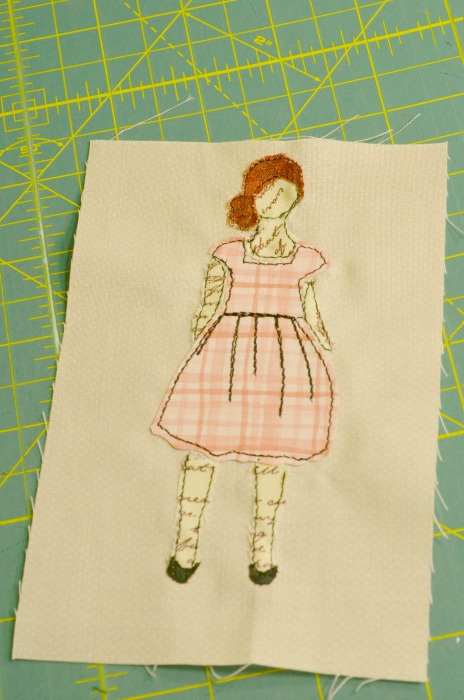
Then I put her into the sewing machine and did some free-motion outlining with black thread to give the design some detail.
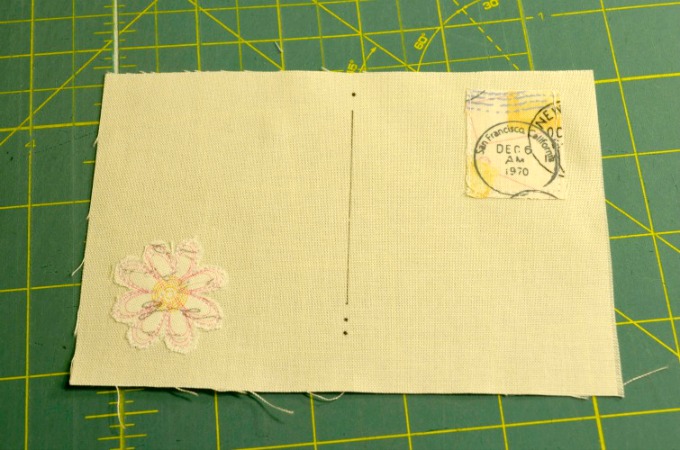
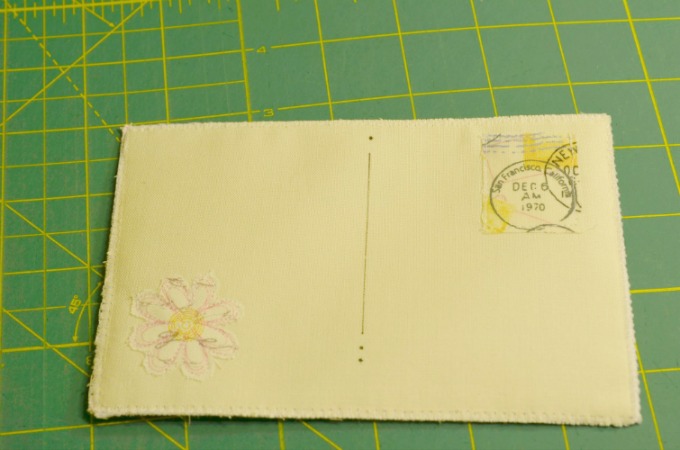
Then it was time to work on the back of the card. I used white cotton fabric and drew the dividing line with a black Sharpie. I appliqued a flower in the lower left corner of the card, and used a post-mark motif to make a faux stamp for the card for a little whimsy. I am going to enclose this in an envelope to mail it to Chrissy, so I don’t need to leave space for a real postage stamp.
The next step is to provide some stability for the card. I ironed each piece on to a heavy weight fusible interfacing. This will give the card some stiffness, but won’t make it rigid.
I then cut out the front and back pieces, placed them with their interfaced sides together, and used a zig-zag overlap stitch around the perimeter of the card to hold the two pieces together.
The back of the card is now ready for my note to Chrissy, and to be popped into the mail and sent on its way to England.
Until next time,
Joan
Love this!
I’ve always wanted to do this. Thanks for the tutorial. Well done!
Last year my daughter and I did her valentines by sewing paper together. I was surprised at how well it worked!
Your design is lovely and should be well received indeed. 🙂
Wow, that’s wonderful! Love the sewn paper and the sketchy finished look.