I love paper-piecing. I like the precise points and seams that align. What I hate about paper-piecing is tearing the paper foundation off the back of the block when it is finished…pulling tiny bits of paper out of stitches, hoping the seams will hold.
A couple of years ago, I learned how to use freezer paper as a foundation for paper-piecing and it revolutionized this technique for me. It is fast, does not require removal of the paper foundation, and the foundation can be reused at least a dozen times, saving time and paper.
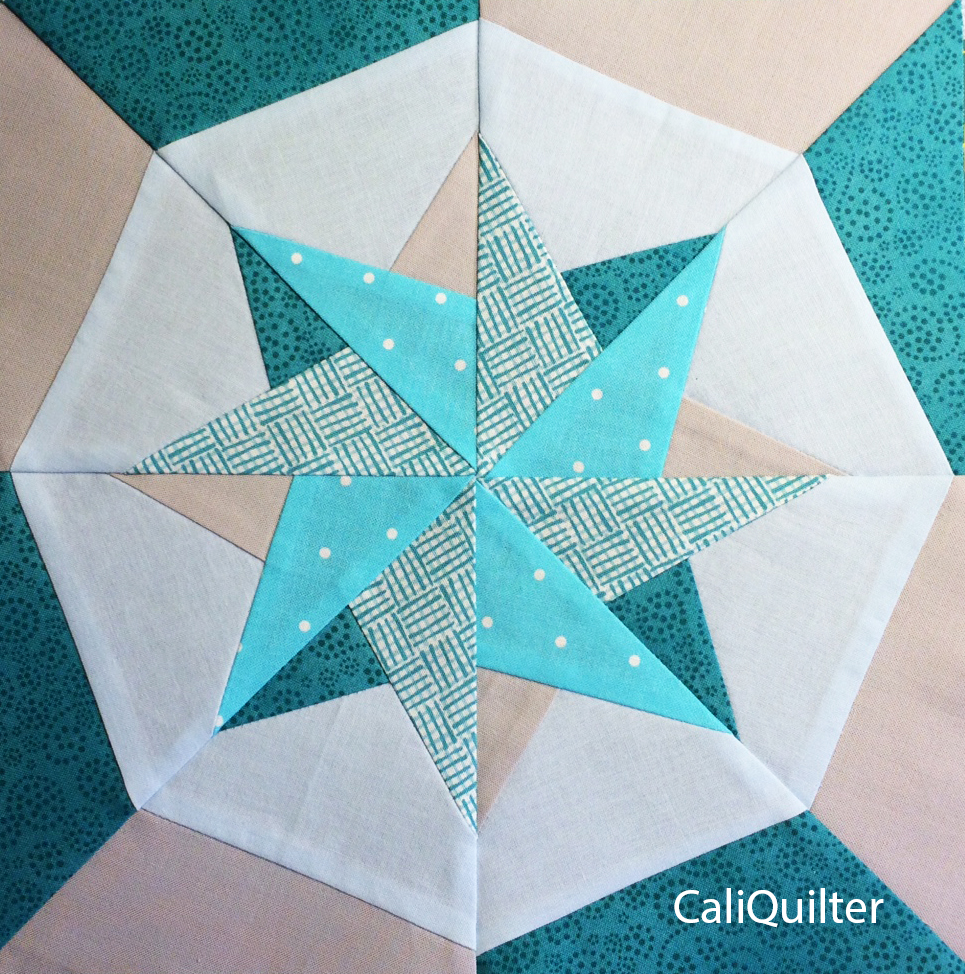
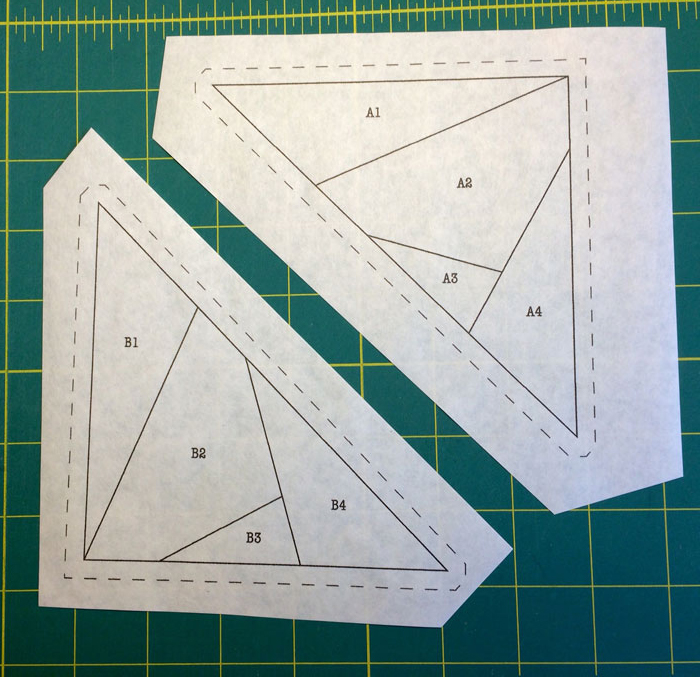
I have provided a PDF pattern for the block “Woven Star.” This pattern is for a 10 inch block. You can download the PDF here. (Please note you will need to have Adobe Reader installed to open this file. You can download the Reader for free at www.adobe.com.)
There are two units, A and B. Units A and B, when sewn together, make one-quarter of the block. So, you will need to make four of each unit to complete the block. There are only three seams in each unit, so this block goes together fairly quickly.
The first step when doing any kind of paper-piecing is to measure the individual areas within each unit to determine the size of the fabric patches you will need to cut. I have given you the sizes for this block in the pattern, but I want to show you how I determined these measurements. For experienced paper-piecers – feel free to skip ahead!
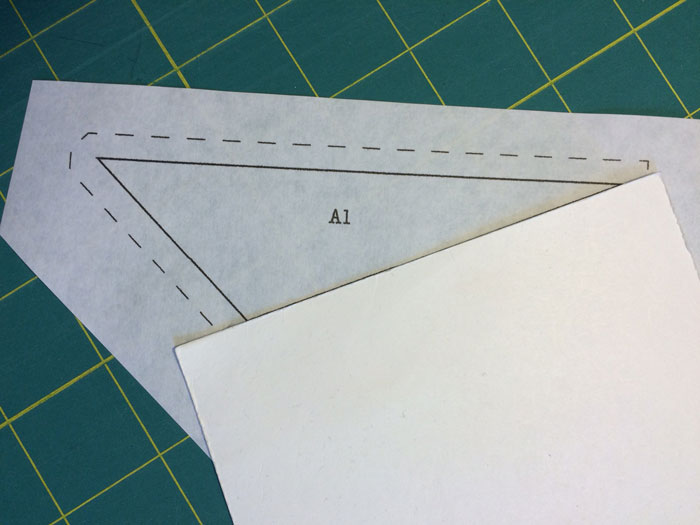
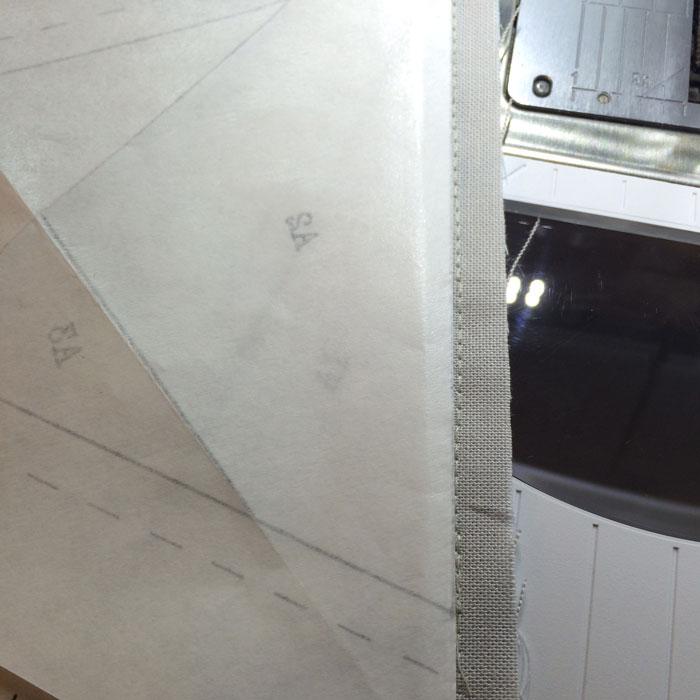
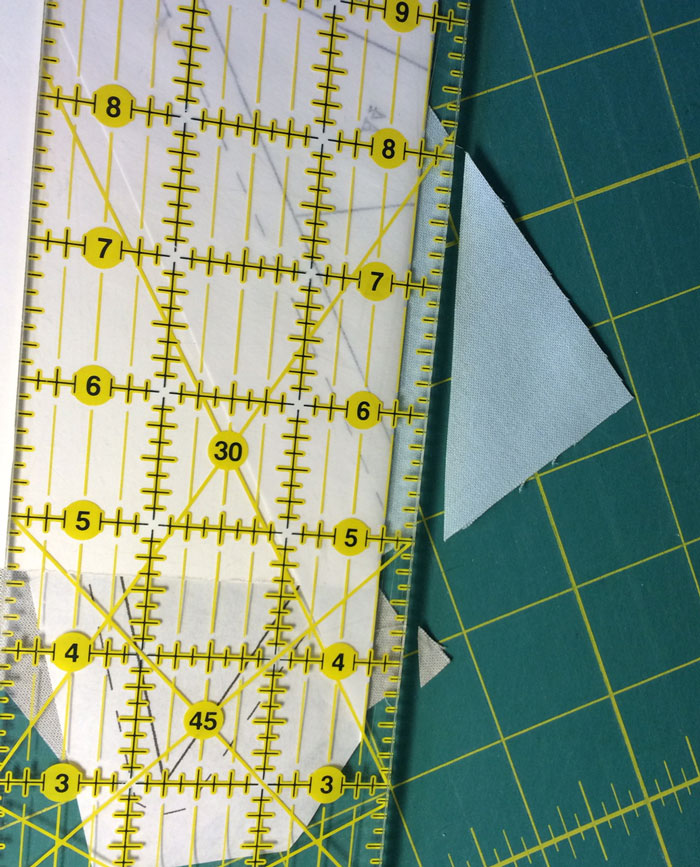
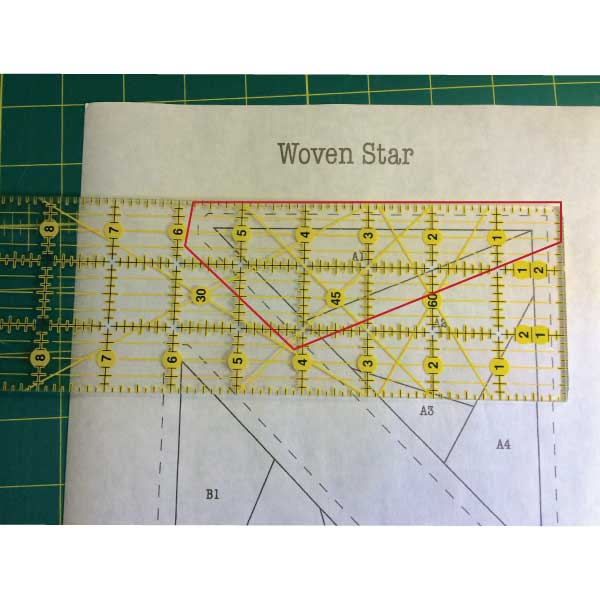 To determine the size of the fabric needed, lay a clear ruler over the area to be covered. The fabric must be large enough to extend outside the seam allowance (the dotted lines) and the solid seam lines by at least one-quarter inch. The red line shows this piece must be 5 3/4 inches by 2 3/4 inches. I have recommended this be cut 6 inches by 2 3/4 inches. Always cut the patch larger than you need.
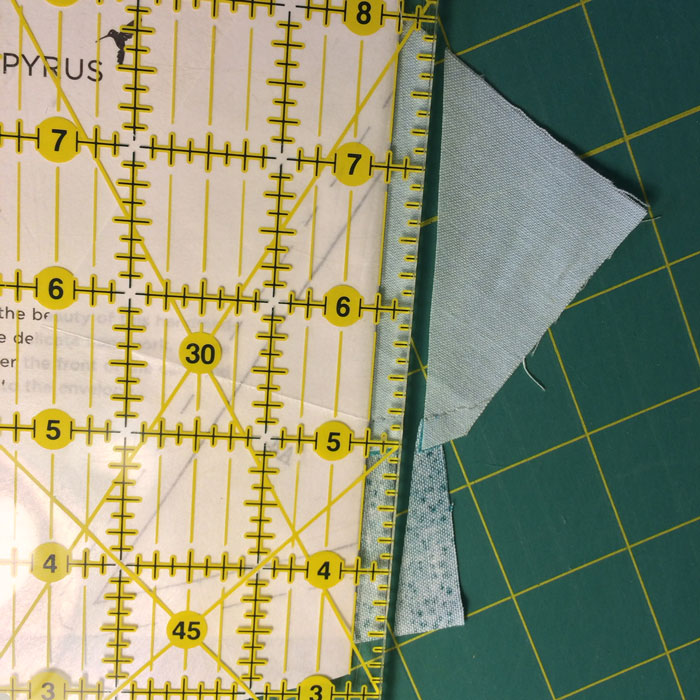
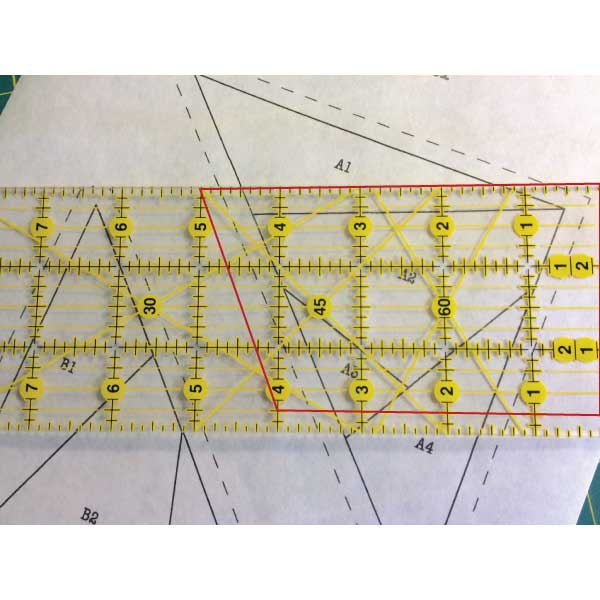 To measure the second patch in the A unit, place the 1/4 inch line on the ruler just above the seam line to ensure the patch will be large enough. You can see that the patch will need to be a minimum of 4 1/2 inches long and 2 3/4 inches wide to cover this patch adequately. Continue measuring patch 3 and 4 and compare them to my suggested measurements in the pattern. The good news is the patches in Unit B are the same size, so you would only need to measure one unit!
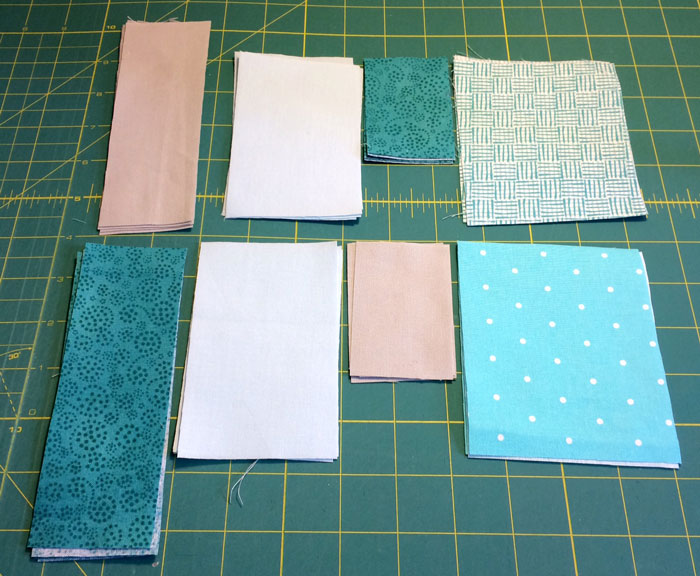
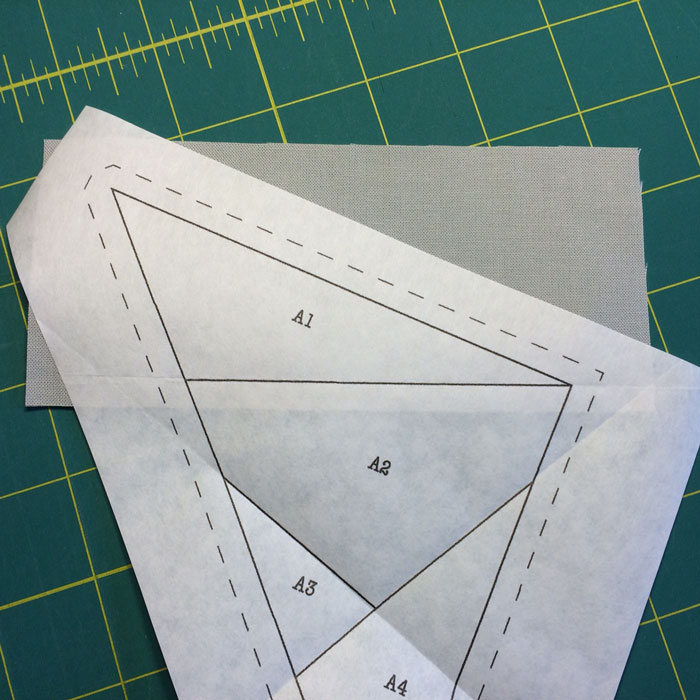
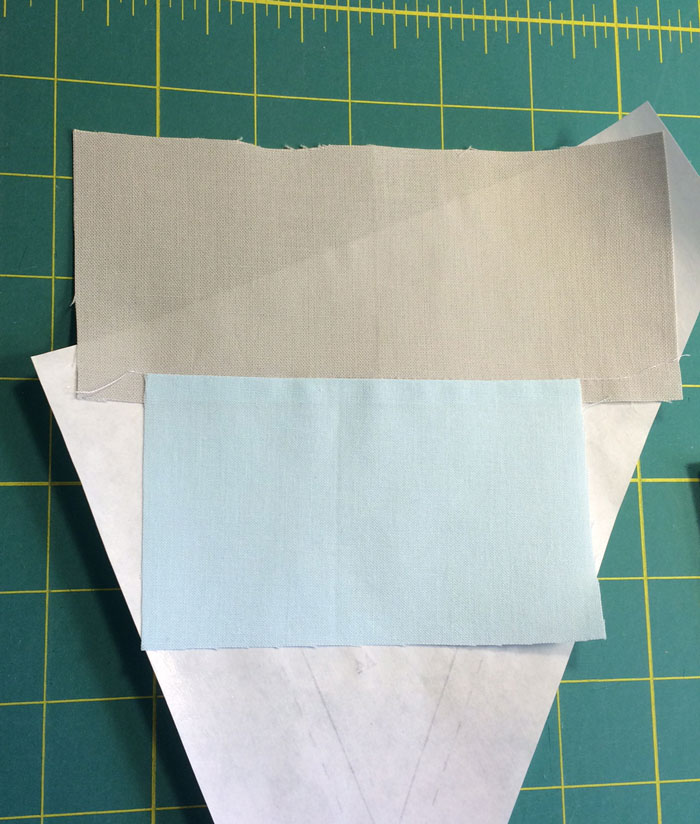
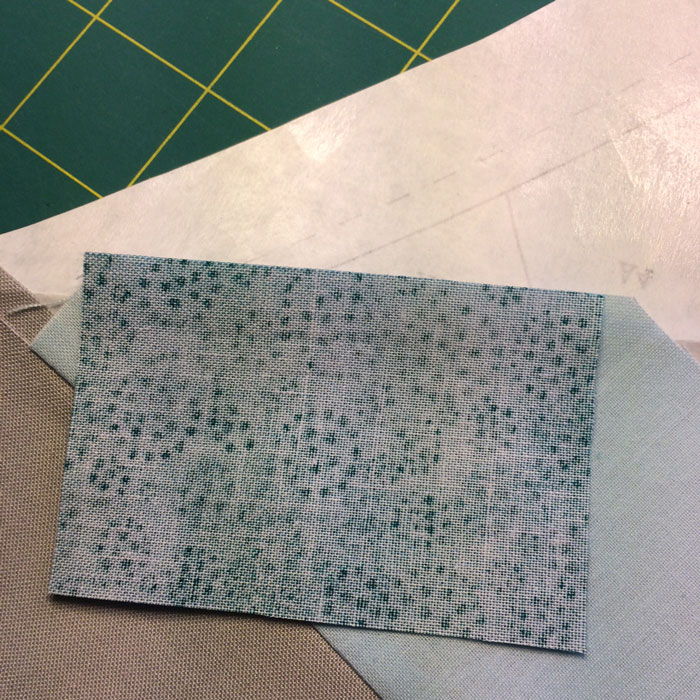
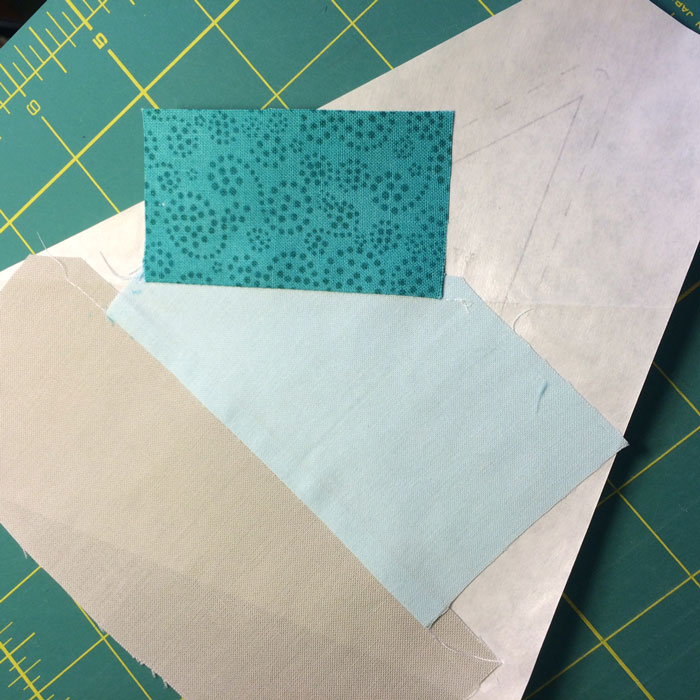
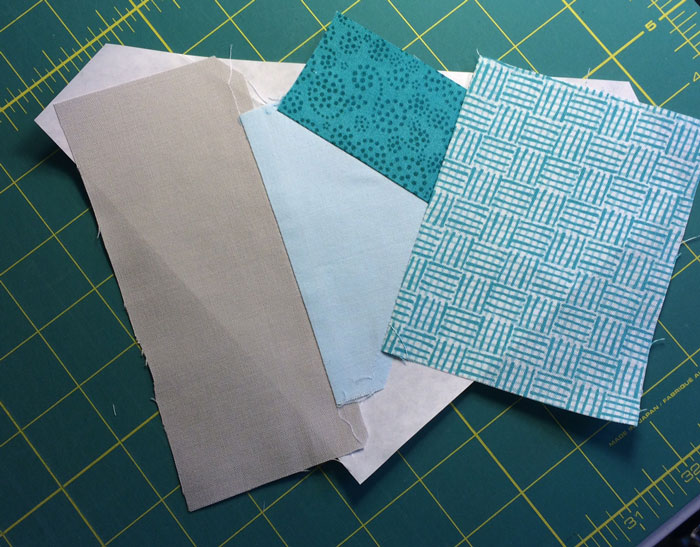
Using these measurements, cut four pieces of fabric for each section of Unit A and Unit B. Place them in order, A1, A2, A3, A4 and B1, B2, B3, and B4 to help keep things organized.
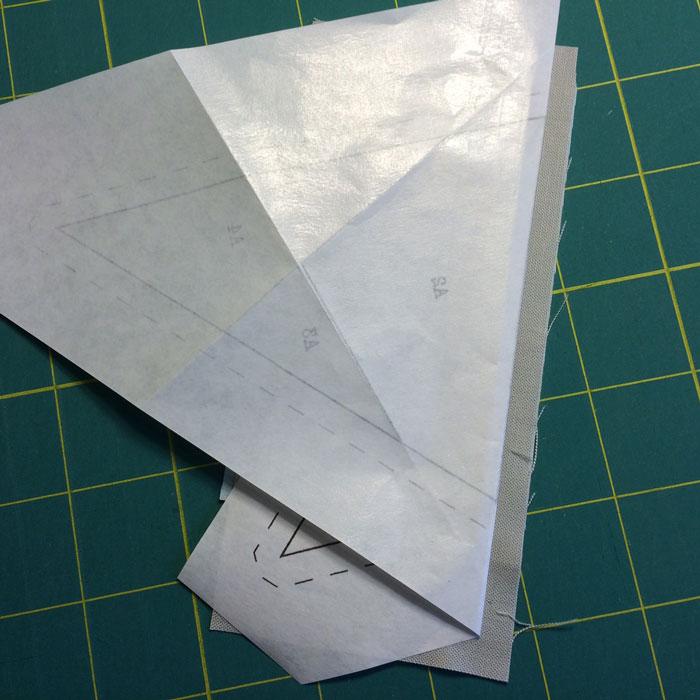
Next, cut apart the two paper foundations to make them easier to use.
Next, use a bone knife, a wooden roller, or your fingernail, to crease each seam line in Unit A and Unit B. The seam lines are the solid black lines. This will make it easier to fold back the seam line when you are ready for stitching.
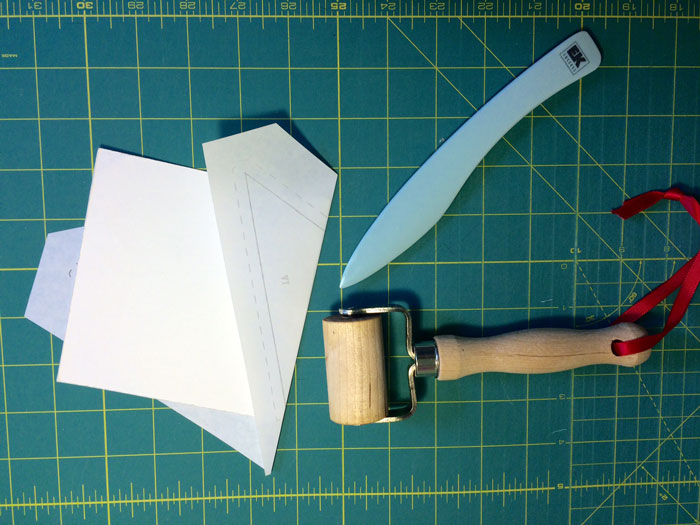
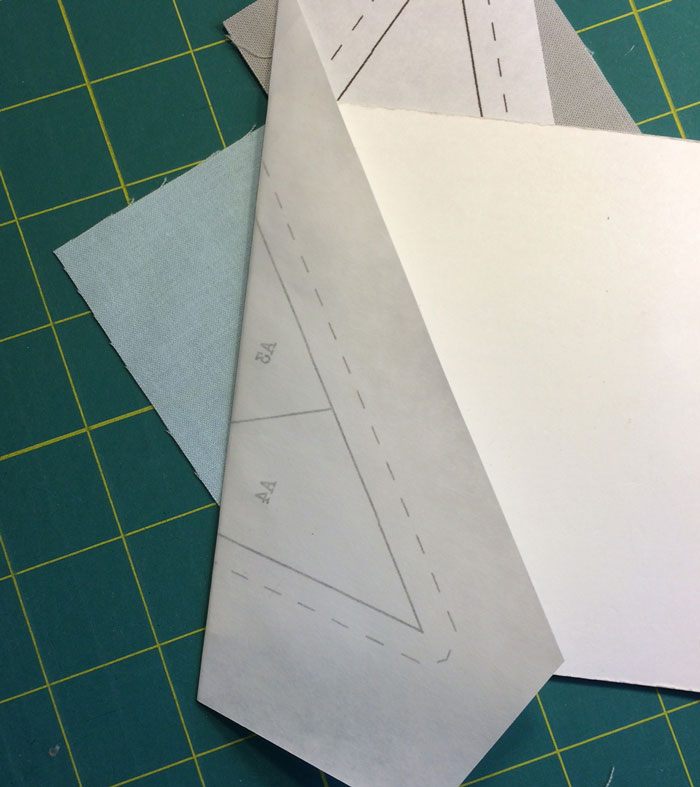
Use an index card or card stock as a straight edge to fold the seam lines. It is important to keep these folds as straight and accurate as possible, as this will become your seam guide.
After all the seams have been creased, begin by placing your A1 fabric on the shiny side of the freezer paper, making sure there is a 1/4 inch seam allowance extending beyond the A1 – A2 seam line. Gently press the fabric to the paper with a dry iron, hold it in place.
Fold the paper template back along the A1 – A2 seam line, exposing the 1/4 inch seam allowance. Place the A2 fabric right sides together with the A1 fabric. Flip the fabrics over, so the A1 seam allowance is on top. You will be sewing exactly next to the paper fold for this first seam.
Stitch as closely to the paper as possible, without stitching through the paper foundation. As you can see, my stitch line is not perfect here. I should have slowed down a bit for a more precise seam! The more perfect this seam is, the more precise your block will be.
After stitching the seam, turn the foundation over and gently press the A2 fabric down onto the shiny, sticky side of the freezer paper.
Turn the foundation over, and fold back the seam line between A2 and A3, exposing the excess fabric from the A2 patch. ( I have to apologize – I am left-handed, so I will try to orient this for right-handers from here on.)
Place the 1/4 inch line along the fold in the paper, and use your rotary ruler to trim off the excess fabric from A1 and A2 that extends beyond this seam line. This leaves you with a 1/4 inch seam allowance for your next seam.
Flip over the foundation and place your A3 fabric right sides together with the A2 fabric, matching up the edges. Take a moment to notice the seam lines and the outer seam allowance line that show through the paper foundation. Make sure the A3 fabric patch is aligned so when it is sewn and flipped over, it will cover both the outer seam allowance, as well as providing at least a 1/4 seam allowance for the A4 patch on the right.

Flip the foundation over, and stitch the A2 and A3 fabrics together, staying as close to the paper fold as possible.
Open fabric A3 and gently press it down onto the shiny side of the foundation.
Flip the foundation over and fold the foundation along the A3 and A4 seam line. Place the 1/4 inch line of the ruler on the paper fold, and using your rotary ruler, trim off the excess fabric from the A2 and A3 fabric patches.
Turn the foundation over to the fabric side and place the A4 fabric patch right sides together with the A3 fabric patch, aligning the edges. Take note of the dark seam line and dotted seam allowance lines that show through the foundation. Make sure the A4 fabric patch is aligned so when it is sewn and flipped over, it will adequately cover this area. Fold back the paper along the A3 – A4 seam line and stitch along the fold, as you have done previously.
Fold the A4 patch over the shiny side of the foundation and press it lightly with a dry iron so it will adhere to the foundation. You have now completed all the seams in this A unit.
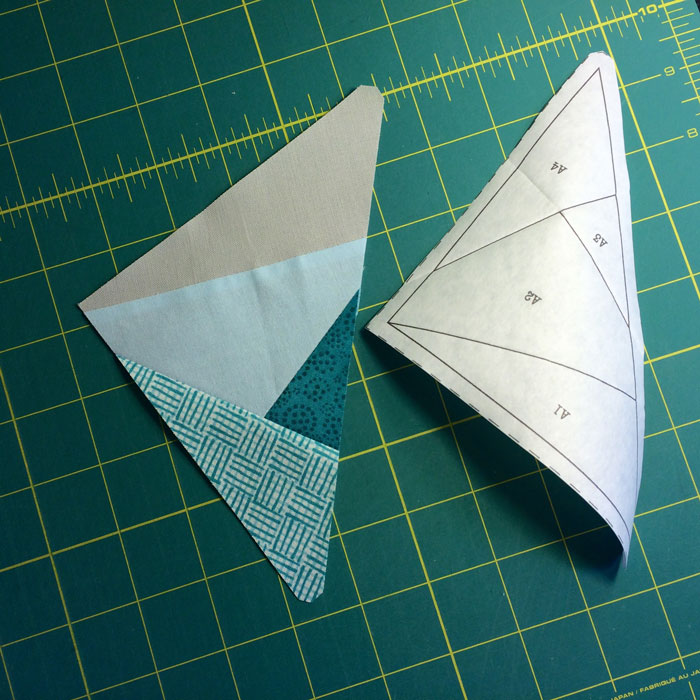
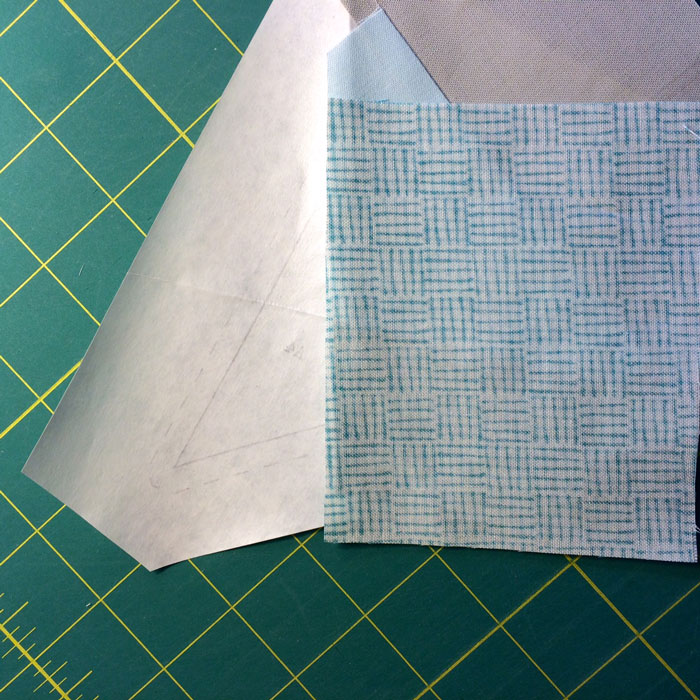
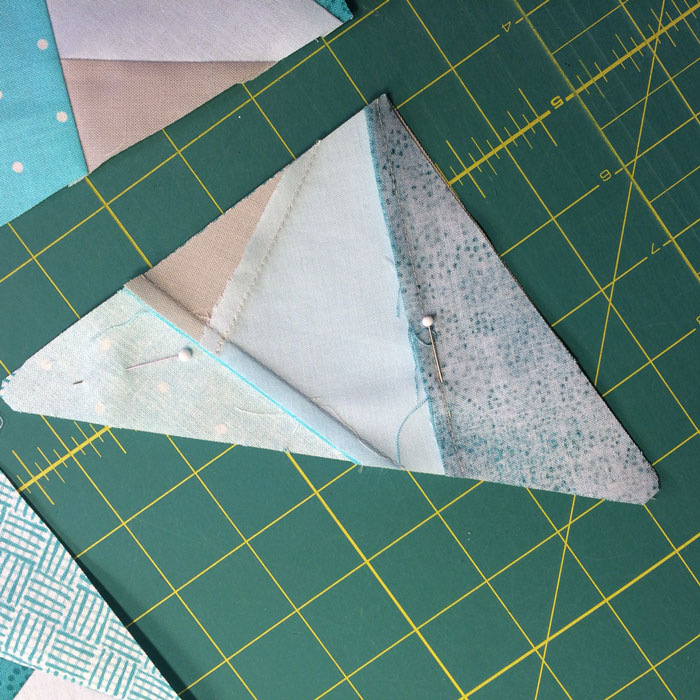
Turn the foundation paper so the printed side is facing up. Using your rotary ruler and rotary cutter, cut out the A unit along the dotted seam allowance lines. Peel off the freezer paper foundation so you can use it to make the remaining 3 “A” units. Follow the same steps to make the remaining A units, and then do the same to make the four B units.

One A unit and one B unit form one-quarter of the Woven Star block.
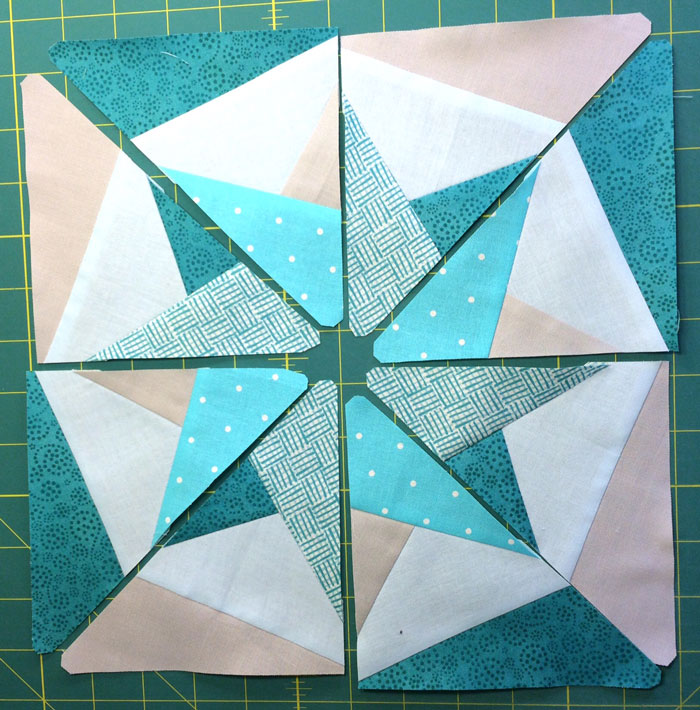
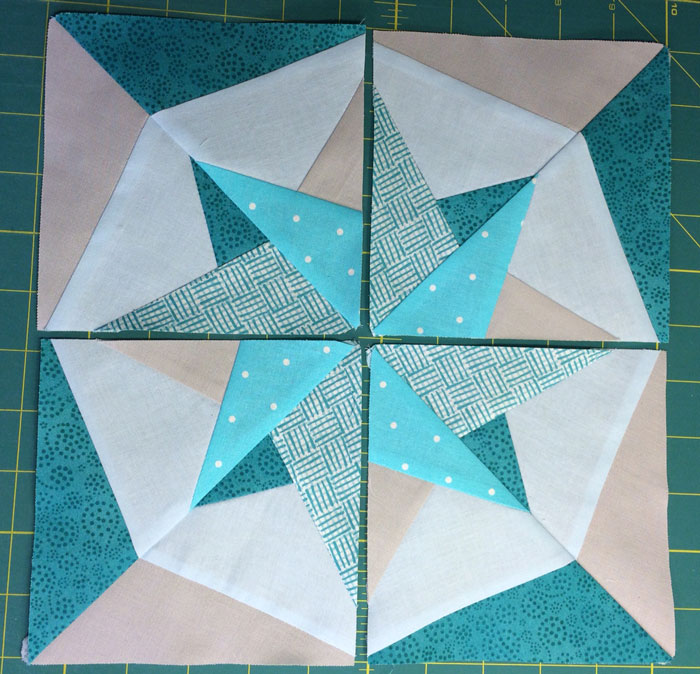
Four A and B units, arranged together form the completed block.
Take care when sewing these two units together. You will find that the seam on the right hand side of this photo will “nest” together. Use your finger to press these seams together, and pin them. Pin the opposite edge of the block to ensure nice even seams.
Units A and B sewn together. Nice even seams! Now sew the top two units together, and the bottom two units together. Press the center seams in opposite directions.
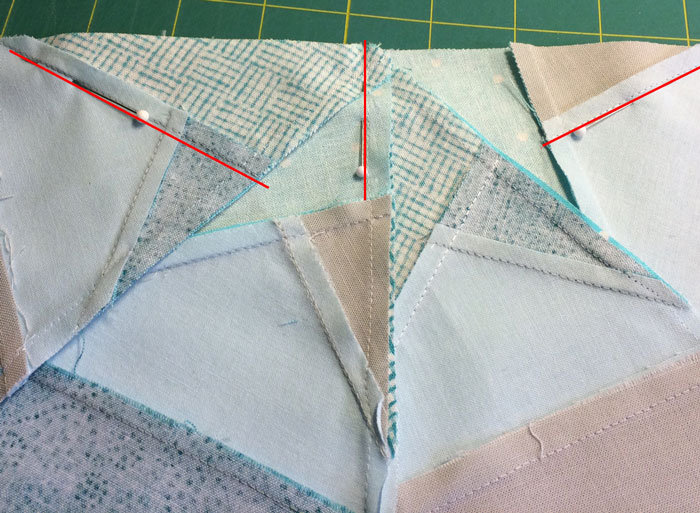
After you have sewn two A/B units together to form the top row of the block, and two A/B units for the bottom of the block, it is time to sew the top half and bottom half of the block together. Place them right sides together, and using your finger, nestle them together along the seam lines marked in red and pin them to ensure an accurate seam.
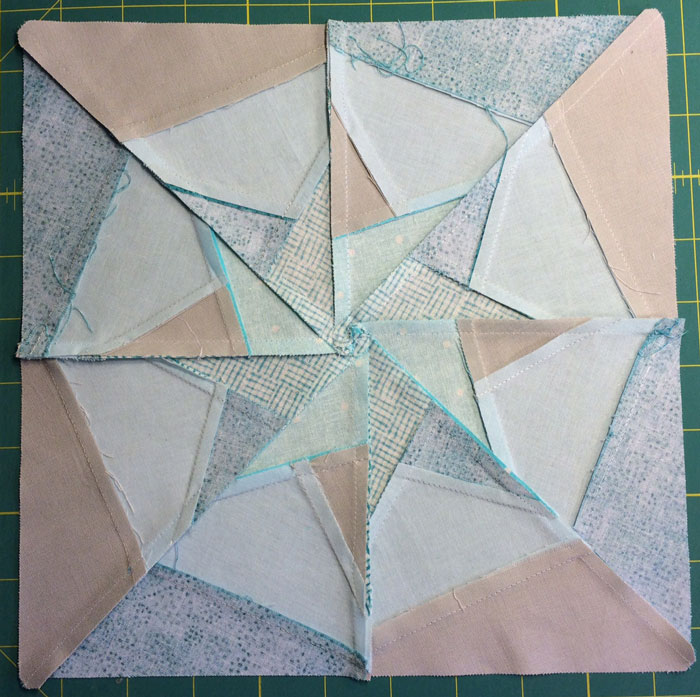
After the two halves of the block have been sewn together, there is something to notice. All of the seams in this block have been moving in a counter-clockwise direction. So please press the center seam to continue this motion. The left side should be pressed down and the right side press upward. You will notice that this results in the center of the block collapsing into a flat spiral. This distributes the bulk of the seam around the center of the block. This is another benefit of paper-pieced blocks. The back of the block will be almost as beautiful as the front of the block!
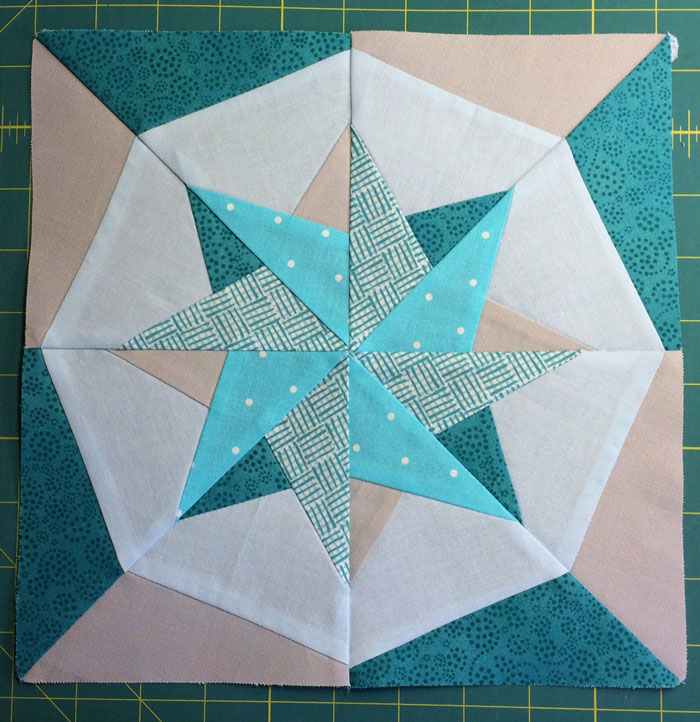 Flip the block over, and this is the final product.
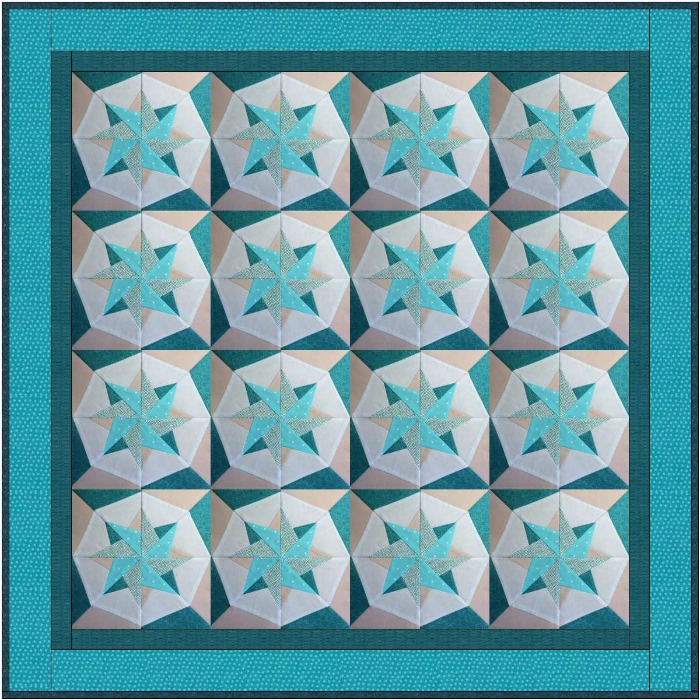
This block has a “star” corner, which means it will produce a secondary star pattern when the blocks are sewn together. I love these!
Paper piecing requires some patience when you are first learning the technique. The beautiful blocks that can be produced using this method are well worth the time invested.
Until next time,
Joan
I clicked on the links for pages 1, 2 & 3 which were to be PDF file, but they only opened JPEG images of the three pages. I’m guessing that Page 3 therefore will not print the appropriate size. I’m disappointed because I did want to try this method of paper piecing.
La técnica es muy bonita gracias por entregarla cariños Claudia.
Thank you!!
Thank You so much for this! I’m going to try this for a wedding gift!
@MaryEllen …try to download again. I just got all 3 pages with no trouble at all.
Thank you for your detailed PP tutorial! I’ve bought the freezer paper, but haven’t tackled any paper-piecing yet. This will be a lovely project to start!
I can not get them to open in a PDF format either. I am using an Mac / IPad, could that be the problem? Would love to be able to print off the paper piecing templates and give it a try!
i could not download the PDFs file its a JPEG file would love to have this PDFs file please
You all might try downloading the jpeg files and then converting them to PDFs yourself. I use the PrimoPDF free program to convert files. There are other free programs that do this, too.
Thanks for the clear directions and pictures, Pat!
The file has been converted to PDF format. Thanks!
Joan
The file has been converted to PDF. Thanks!
Joan
The file has been converted to PDF. Thanks!
Joan
The Woven Star pattern has been converted to PDF format. Thanks!
Joan
The Woven Star pattern has been converted to PDF format. Thanks!
Joan
I am so going to try this Joan
Thank you for this clear tutorial!
I will definitely try this. I also do not like to pick the paper out. Consequently I will avoid a paper pieced pattern, unless I just love, love the pattern.
Thanks! I work full time so don’t quilt much and had no idea how paper piecing worked! Great tutorial. I will have to give some thought to what I can use other than freezer paper since it doesn’t exist where I live (or buy a supply next time I am in Canada!!)
Curious, how do you print the pattern on freezer paper?
Hi – would love to make this block. Is there a way to convert it to 12″? Also, I don’t see a measure quite to see that it prints to the correct size.
Very pretty! I love paper piecing with freezer paper!