This month I am the tour director for my Round Robin Bee group and the subject is sewing curved seams. Sewing curves may be intimidating but with a little practice and some patience you can tuck this technique into your tool belt and produce some unique and beautiful blocks.
The old fashioned “Orange Peel” block is made with two very gentle curved seams, and is an excellent block to practice sewing curves.

You can find a template for this block at www.popularpatchwork.com/sites/4/documents/orange_Peel.pdf.
This is the block we are ultimately producing:

You will need to cut 4 of the “petal” shapes and 8 of the background shapes.

Take one petal shape and two background pieces and fold them in half and finger press a seam across the half way point on each.

Match the center point of one of the background pieces on the center point of the petal piece and pin.
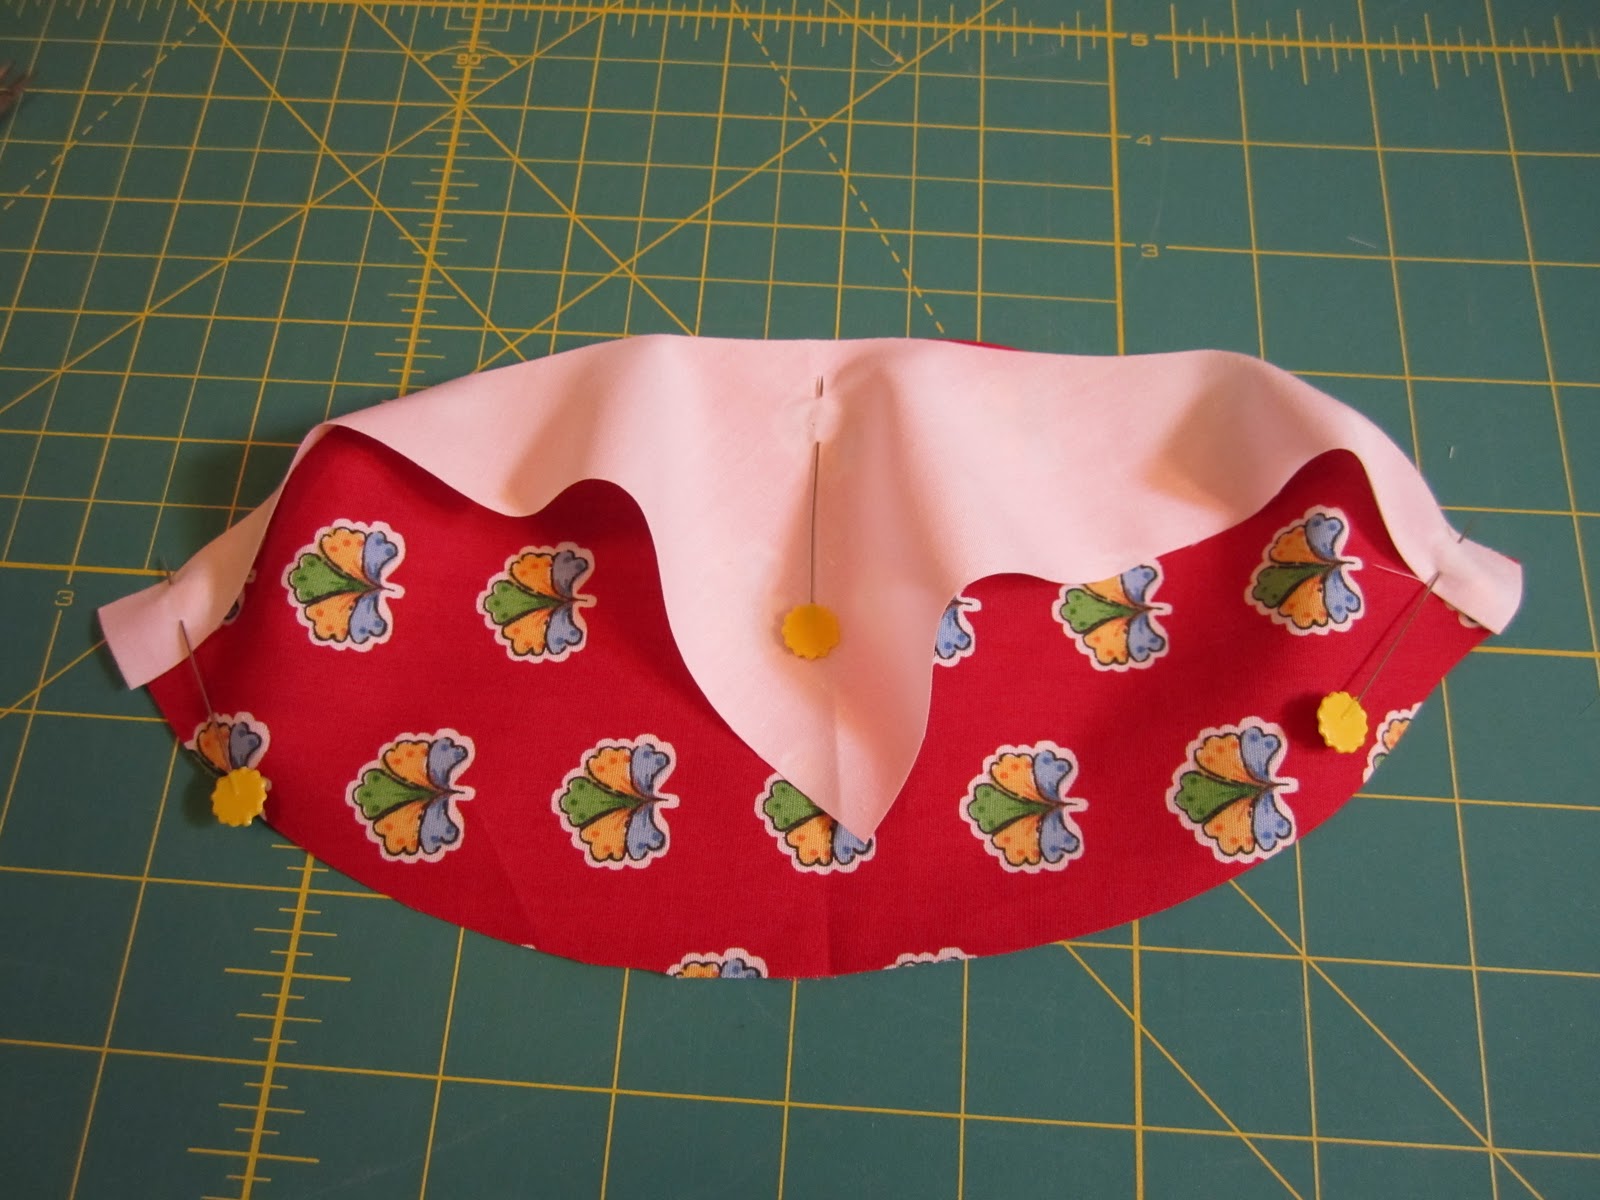

Beginning at the center pin, insert pins about every half inch, working out to the edges. Yes, it is a lot of pins, but believe me, pins are your friends in this block!

After you have placed your pins on the front, turn the piece over and make sure the fabric on the back is nice and smooth along your pinned seam. If you need to, smooth the fabric with your finger outwards toward the edge until there are no puckers or ridges.

The 411 on this block: sew slowly and patiently. Don’t work on this block if you are tired or in a hurry. Curved seams are not as forgiving as straight seams, so take your time.
Keep the outside of your 1/4″ foot exactly on the outside edge of the fabric. Sew four or five stitches and then pause, lift the presser foot and realign the fabric, if necessary. Don’t sew over a pin. Stop and take the pins out as you come to them. It helps if you keep your eyes in front of the right side of the presser foot while sewing along the curve instead of watching the needle.


Press the seam toward the center.

Using the same guidelines, align the center of the second background piece with the center of the petal piece, inserting a pin at the mid-point.

Again, pin on the outer edge…

Pin, pin, pin…

Once again, after you have sewn the seam, use small sharp scissors and clip the seam every half inch to let the fabric relax and spread open on the seam.
When you sew the four blocks together, please pay attention to the concave and convex curves and match them so the blocks come together in alignment.

If you choose to put the petals together as above, you will have a flower block and if you angle them the other way you will have the circle block. Give it a try!
Until next time,
Joan
Would pinking shears be a good alternative to clipping the seam? My husband got me a nice pair of them for Christmas, and I want to use them, but so far i’ve only trimmed an ornament. Thanks for posting this- it is very helpful!
Pinking shears won’t work on this because they will not make the tiny cut you need. A small embroidery scissor works the best.
PInking shears are a great help when you are using a fabric that frays easily.
I recently made this pattern. I didn’t have a problem with the curved piecing, but I did have a problem sewing the 4 squares together as the seam were so bulky. I tried my walking foot with little success. I finally used my “lift gadget” to lift the presser foot. The seams still were not perfect. Do you have any tips for bulky seams?
Judith, yes, there is one thing that will help. When you sew the top two squares together, iron the center seam to the left. After sewing the lower two squares together, iron the center seam to the right. If you look at the very first photo of the completed block, you can see the seams go in different directions. This helps reduce the bulk in the center of the block, and allows the two pieces to “nestle” together when they are sewn.
Pingback: SBAMQG 2018 Charity Quilt blocks | South Bay Area Modern Quilt Guild